Popular Posts

Showing posts with label server. Show all posts

How to print from linux WITHOUT needing any linux printer drivers or PPDs.

If you are one of many users who have one Windows computer in LAN and lot of Linux computer and lot of printers which don't work with Linux we have solution.
After some googling we found page that explain how to print on Windows printer from Linux machine without any driver or PPD needed. You can red it here. But it is to hard to confiugure for most of users, it supports only one printer on one computer, and it is hard to manage. We created program which is doing same thing much better and easier.
We created NoLinuxDriver printer server in C# which you can download from here.
We also created automated script for Linux which installs for you everything needed for printer to work, so you don't need to do anything  else.

How to install printer server on Windows:

  1. Install printer on your Windows machine. It can be any Windows machine which supports .NET 2.0 framework.
  2. Download printer server from here and unzip it somewhere.
  3. Install AFPL Ghostscript from http://www.cs.wisc.edu/~ghost/
  4. Install GSview from http://www.cs.wisc.edu/~ghost/ 
  5. Create shortcut of  PrinterLinuxServer.exe  and move it to Programs->Startup so it will run on startup.
  6. Start PrinterLinuxServer.exe and click refresh.
  7. Go to C:/printers/ and right click on folder named by your printer.
  8. Click Sharing and share that folder, choose people who can access it, if you don' know you can choose Everyone and you must enable them to read and write.
  9. That is all for Windows :)
Go to your Linux machine:

  1.  Download printer server from here and unzip it to your home folder for example '/home/juser/printer' .
  2.  Go to folder where you extracted  server and opet "auth" file. Change your username, password and domain.
  3. Open install.sh file and change the name of your printer (red colored) and IP adress(pink colored) of your server and your shared folder. #!/bin/bash
    cp adist5.ppd /usr/share/cups/model/
    cp winp /usr/lib/cups/backend/
    cp auth /usr/lib/cups/backend/
    chmod +x  /usr/lib/cups/backend/winp
    mkdir /var/spool/winp
    chmod 777  /var/spool/winp
    lpadmin -p minolta163 -E -v winp://192.168.1.8/minolta163 -m adist5.ppd
  4. Open terminal.
  5. Go to folder where you extracted  server and type: sudo bash install.sh
  6. Run system-printer-config , choose your printer and run Test page.
  7. Thats all :)
When you click print on Linux, winp will send *.ps file to windows shared folder and when server recognize .ps file it will print it instantly.
It looks like this:

On left side is list of printers, on right is log file which tels you what was printed and what command was executed to print.

Please leave comment if you have questions.

UPDATE: We found driver for Linux which works on almost ALL PRINTERS including KONICA MINOLTA, XEROX, LEXMARK, EPSON..., read more here: http://linuxibos.blogspot.com/2013/01/driver-that-works-on-allmost-all.html 
Installing BIRT Viewer server and BIRT report designer

If you want to use BIRT reporting as alternative to Microsoft SSRS you can easily do it by instaling BIRT on any linux distro. There are several tricks you have to do before everything will be fine. We will show you how to install BIRT Eclipse designer, BIRT Runtime server with apache 2 and tomcat 7 and how to add mysql JDBC driver to Eclipse so you can add dataset to BIRT reports and connect to data.

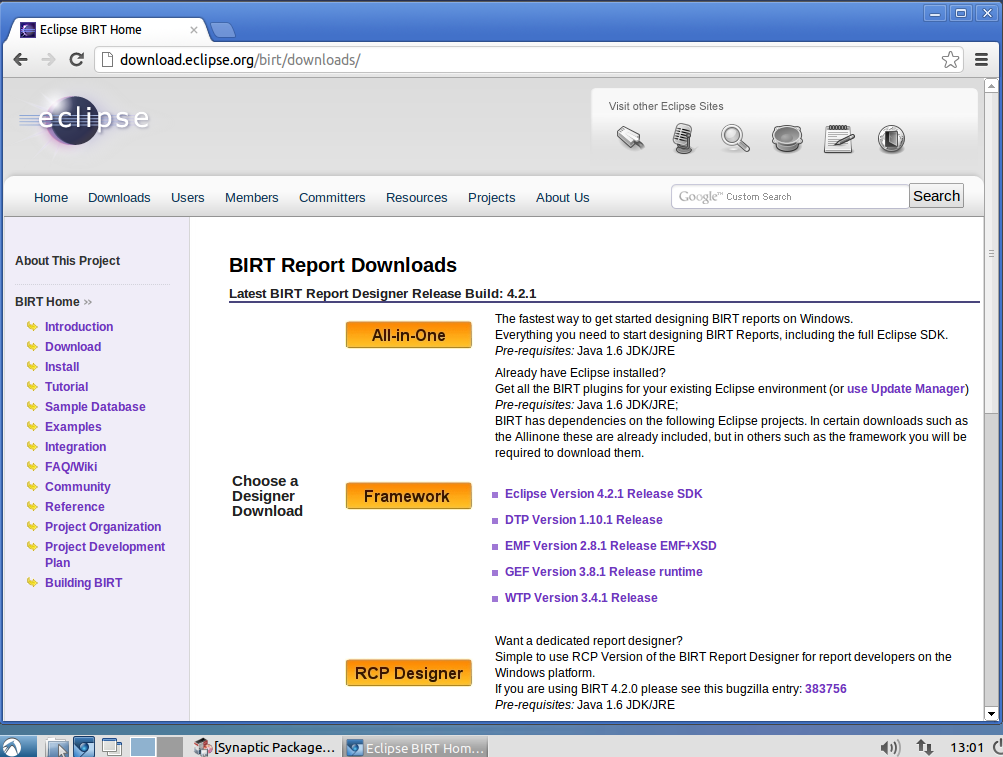
First you must download Eclipse IDE, you can download it from here:http://download.eclipse.org/birt/downloads/

Choose All in one
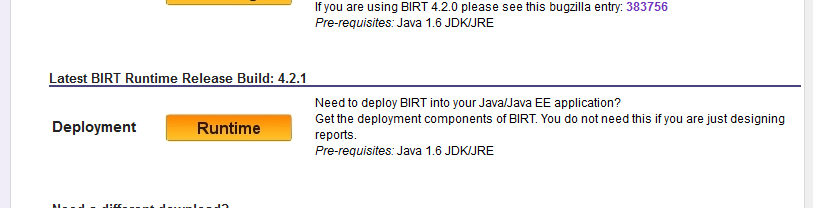
On the same page you can download BIRT runtime, runtime is important because apache and tomcat use birt runtime to run your reports like SSRS and it is like BIRT Report Viewer.
Here is link(I recommend you to go to main web page and download latest): http://www.eclipse.org/downloads/download.php?file=/birt/downloads/drops/R-R1-4_2_1-201209181113/birt-runtime-4_2_1.zip


Also download Latest BIRT Runtime


After you download package extract it somewhere on your disk so you can easily access it later.

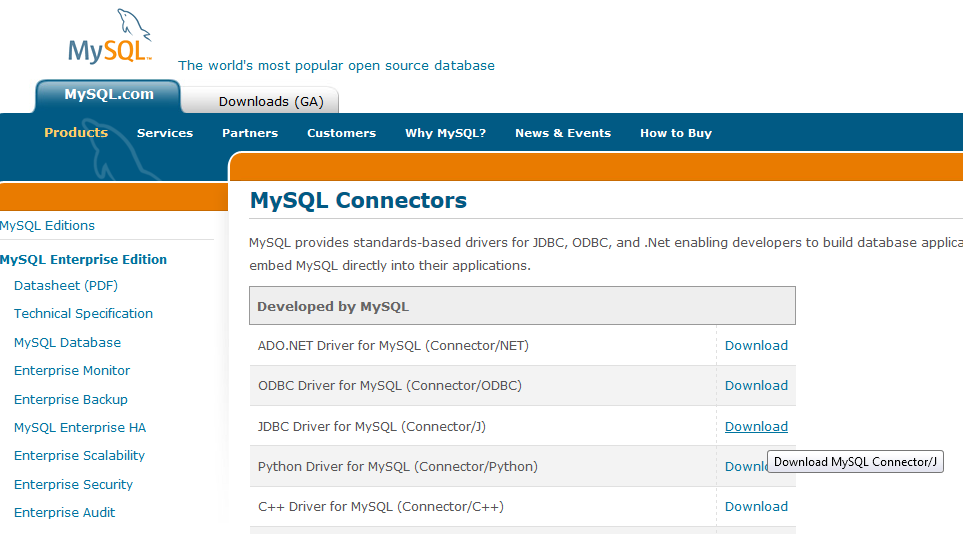
Now download MySQL JDBC driver for Eclipse and Java so you can make connection to MySql database. Here is link: https://www.mysql.com/downloads/connector/j/

Download JDBC MySQL driver


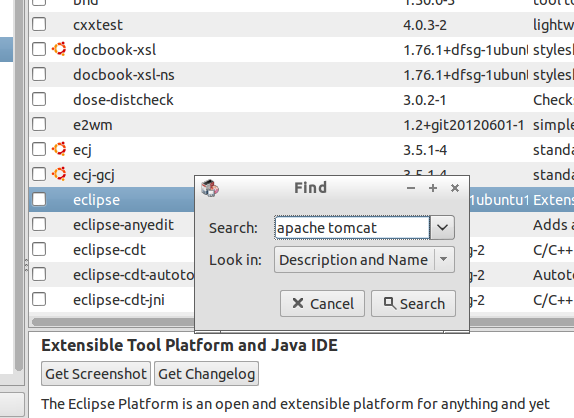
Now install apache2 and tomcat7 on your Linux distro. Here we use Ubuntu derivate Lubuntu 12.10. But the same thing is for Mint, Snow, Lubuntu, Kubuntu, Xubuntu, Ubvuntu Server and versions Ubuntu 10.10 , Ubuntu 10.04 LTS, Ubuntu, 11.04, Ubuntu 11.10, Ubuntu 12.04, Ubuntu 12.10....

Installing in Synaptic


When you finished installing apache and tomcat you must configure it.
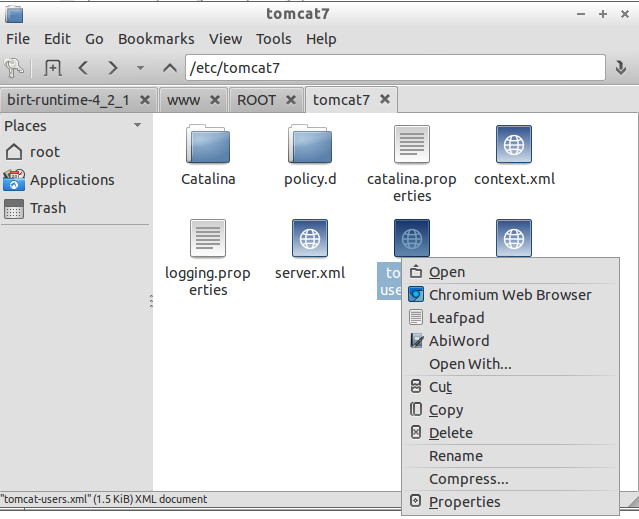
Open /etc/tomcat7 folder and open file tomcat-users.xml with root permisions.


Open it in some text editor, remmember that you must be root to edit this file!
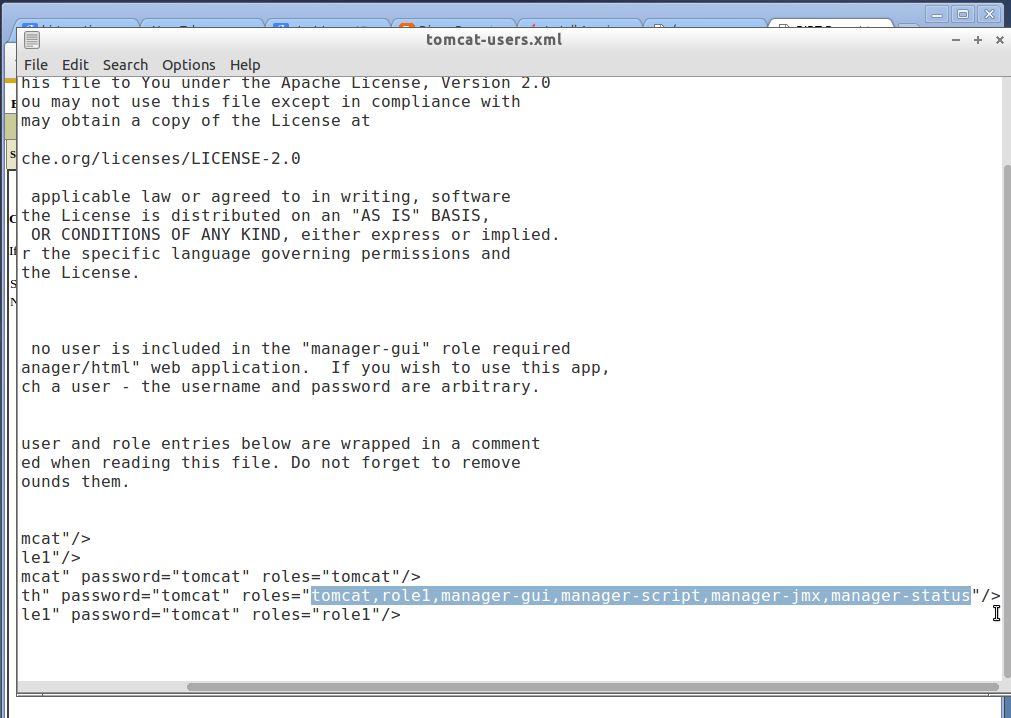
Uncomment lines on botton and add selected roles to your user.
In file tomcat-users.xml go to bottom and you will see default users config commented. Uncoment it , add your users and add roles to your admin user. Add this roles: manager-gui, manager-script, manager-jmx, manager-status.

Then restart tomcat. Enter command: sudo service tomcat7 restart


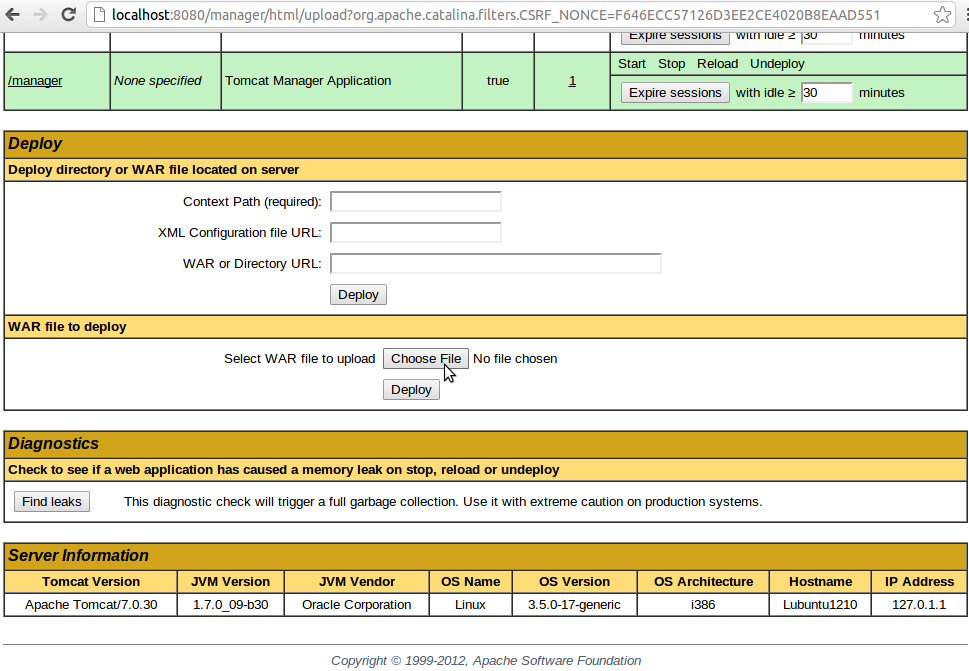
Now go to http://localhost:8080/manager/html and enter password you entered in tomcat-users.xml file. DON'T enter localhost instead localhost:8080 because tomcat runs only on localhost:8080. You can change that later of course but that is default. 

Click "Choose File"

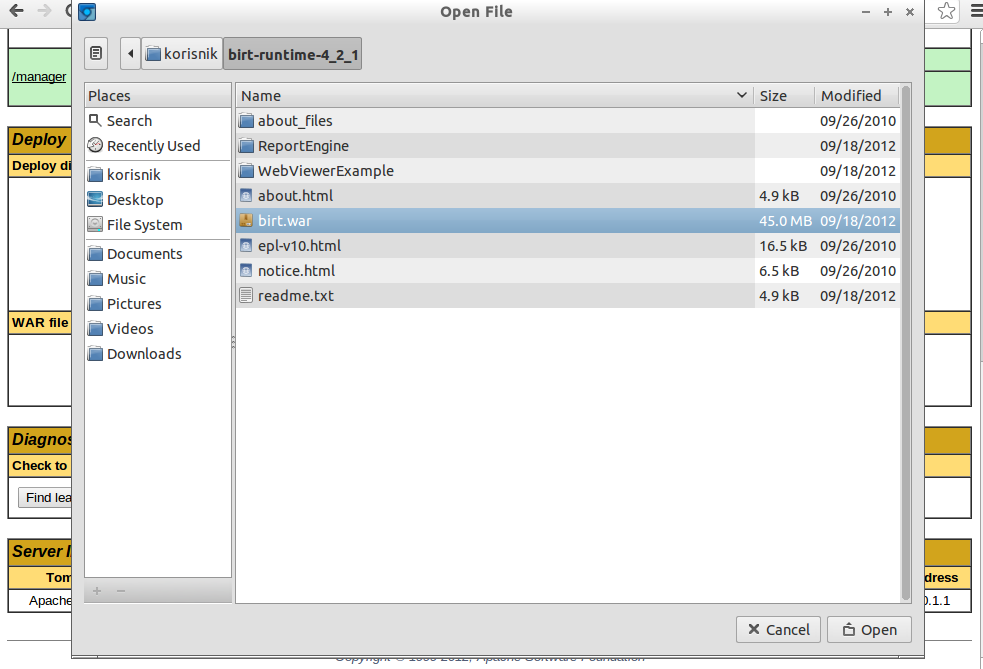
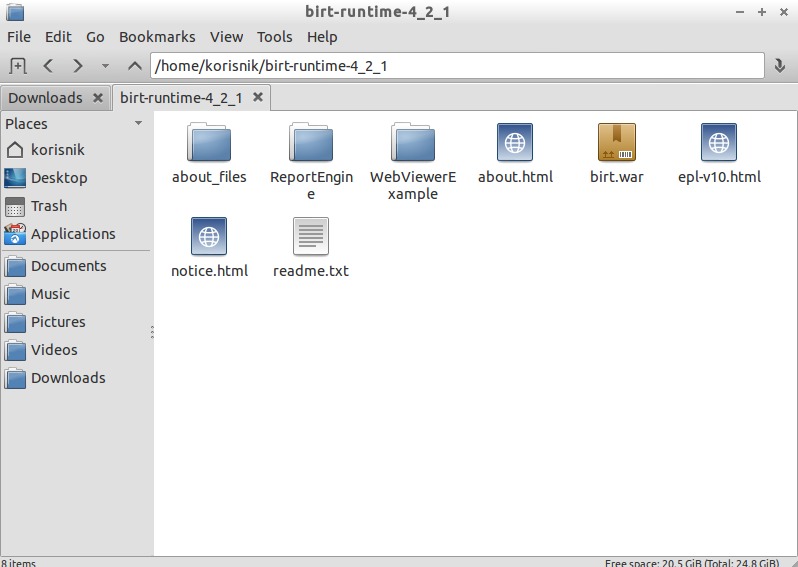
Choose birt.war in folder of BIRT runtime
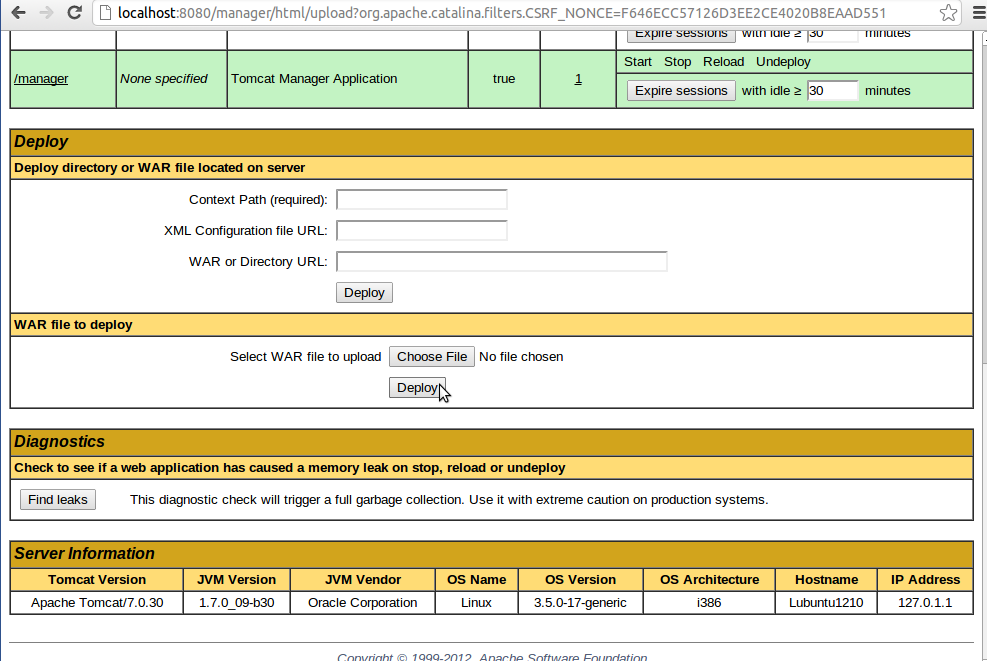
Then click "Deploy" to deploy BIRT Viewer nad make it active.


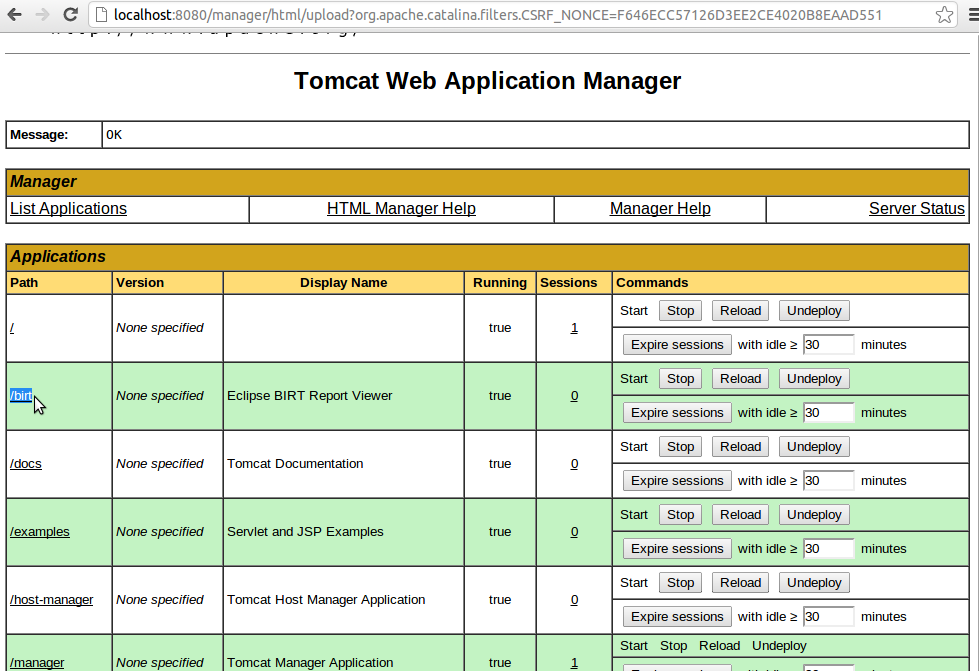
You can see BIRT installed when you refresh localhost:8080/manager/html

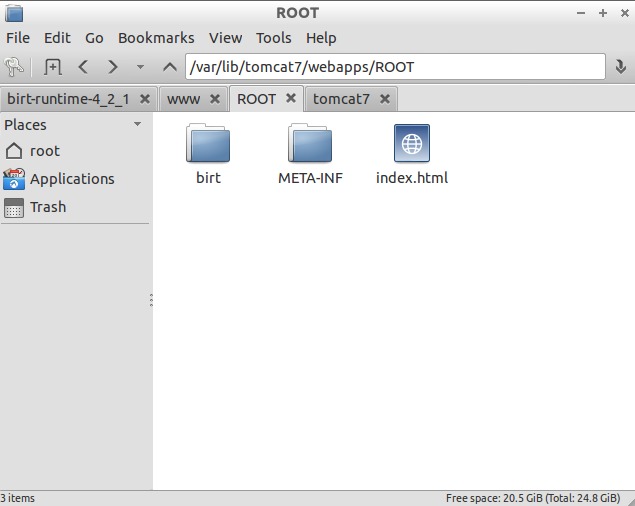
Copy WebViewerExample to /var/lib/tomcat7/webapps/ROOT

When you copy WebViewerExample to /var/lib/tomcat7/webapps/ROOT, RENAME folder  to birt.


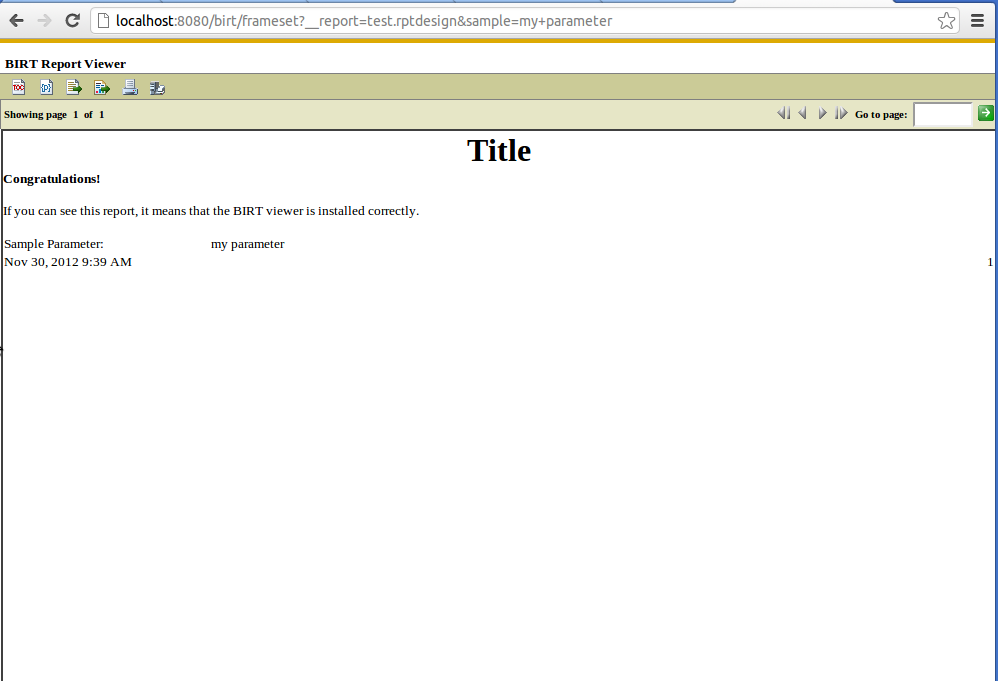
Now open http://localhost:8080/birt and then click View Example. It should display you something like this:
BIRT Report Example


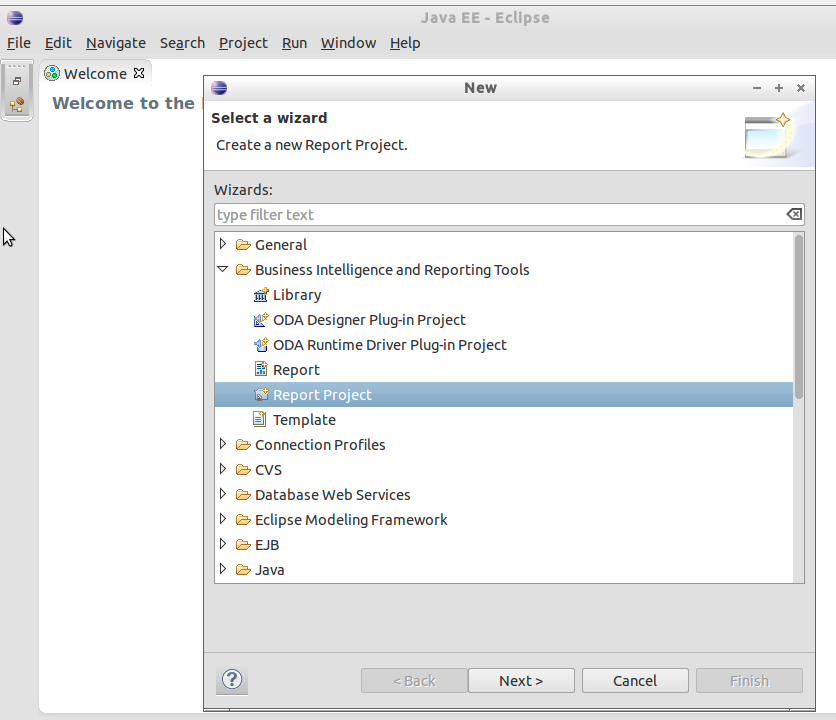
Now open Eclipse from the location where you extracted it, you don't have to install it , just run the file eclipse. After that Go to File-> New->Other...


Choose Bussines Intelligence and Reporting Tools , and then Report Project


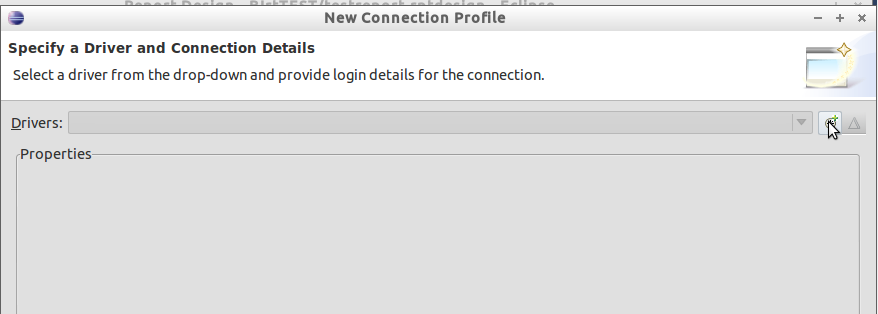
Click on button in right upper corner

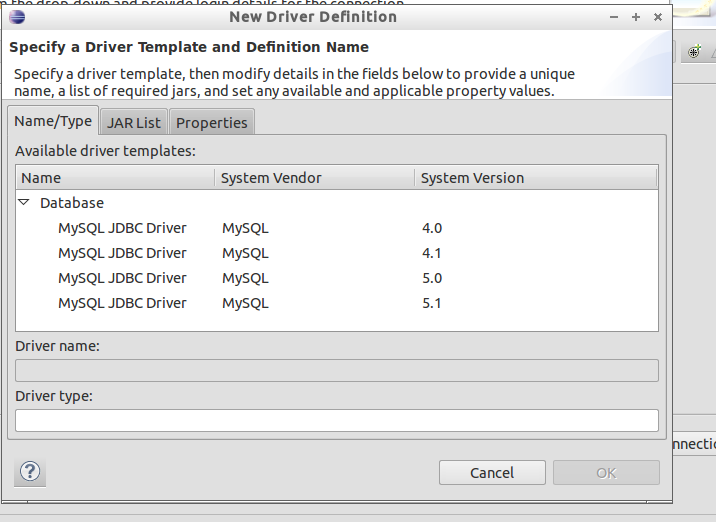
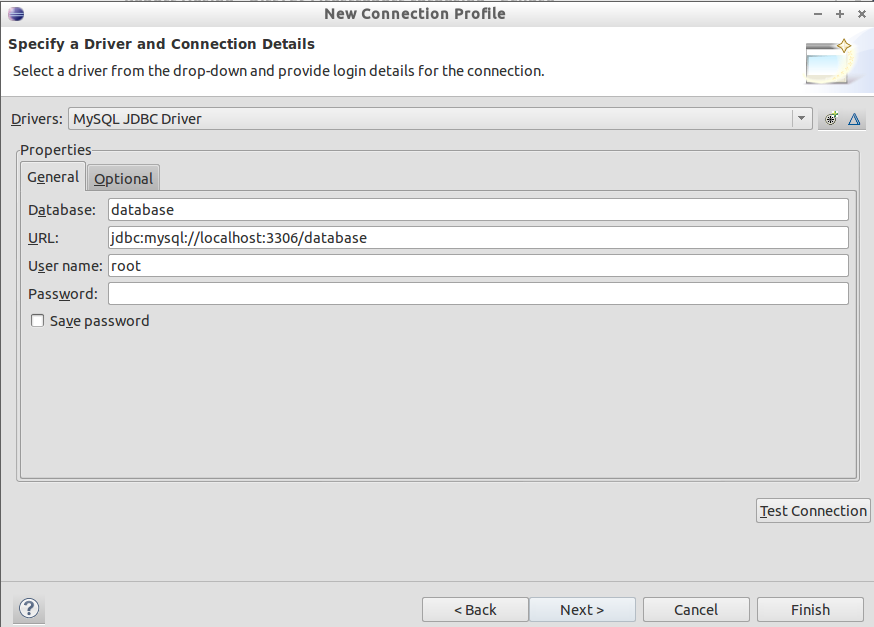
Choose MySQL JDBC Driver Version 5.1
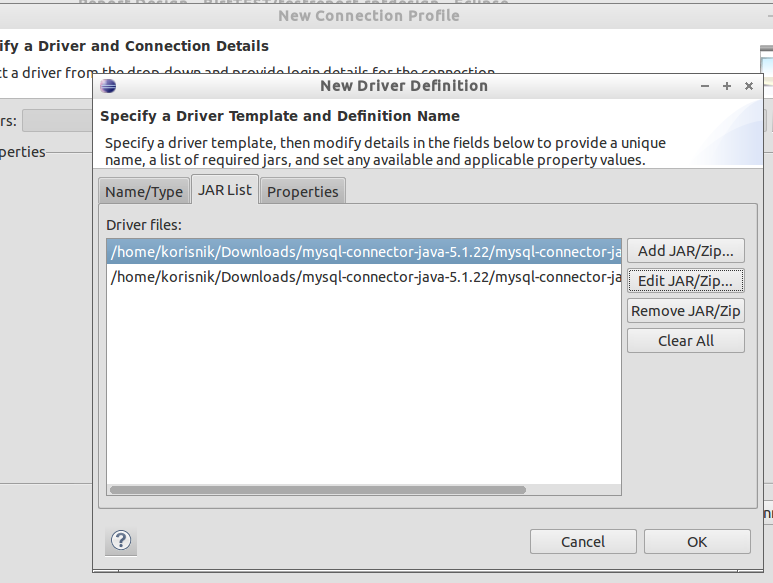
Click "Edit JAR/Zip"

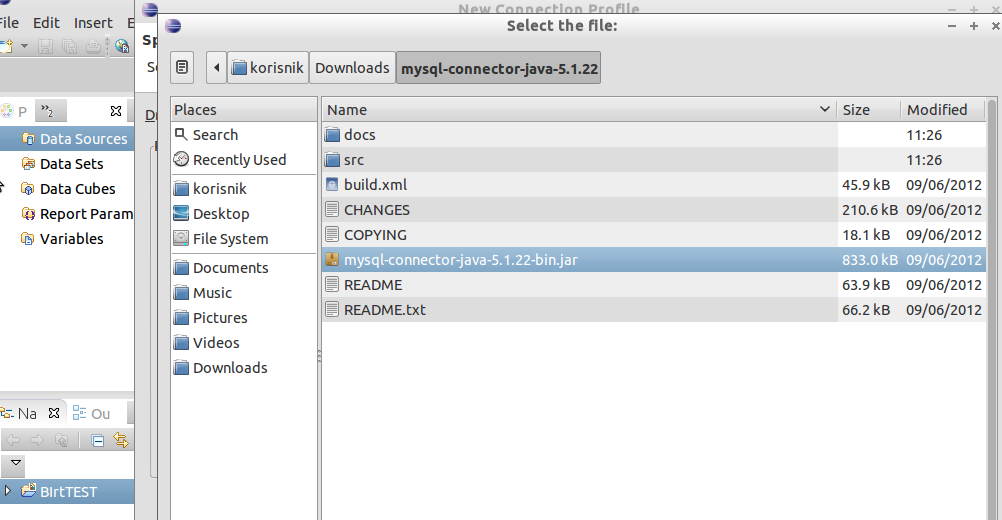
Choose mysql-connector-java you downloaded and extracted previously at begining of this tutorial


Set connection string to database


.... now design report and enjoy :)